Friday, August 20, 2010

Raw Milk - How To Make Butter & Buttermilk


In part two of my raw milk series, we're making butter and buttermilk.

This is also just as simple as making cream. No extra ingredients are needed, but this time we'll need a blender.

This is great when just a little butter is needed or to keep warm on the counter in a butter bell for spreading on toast during lazy weekends.
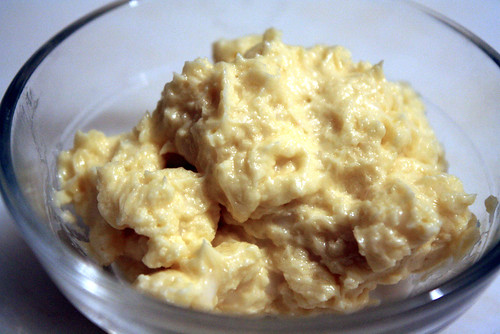

If I get a batch of raw milk that turns out to be at least half cream, then I'll turn all the cream into butter and buttermilk. Usually, my raw milk source is between 25-40% cream, so I allot a certain amount to remain cream for what I need that week and will turn the rest into butter and buttermilk, and will buy sticks of organic butter to use in my recipes which call for more butter than I can make. Plus I'd have so much milk laying around! I really don't need any more incentive to eat tons of ice cream all the time.

Ooo, look at those flecks of butter.

It's best to use cream that is beginning to sour and turn into sour cream for butter. When you hesitate to put raw milk cream into your coffee, then it's time to make butter. It will be thicker and faster to turn into butter. Homemade cultured butter is even better with different nutritional benefits and a richer taste since it's almost like a cheese-and-butter fusion, as well as cultured buttermilk with its richer nutrients, but that's another post.

How To Make Butter & Buttermilk
Printable Recipe

1 cup raw milk cream
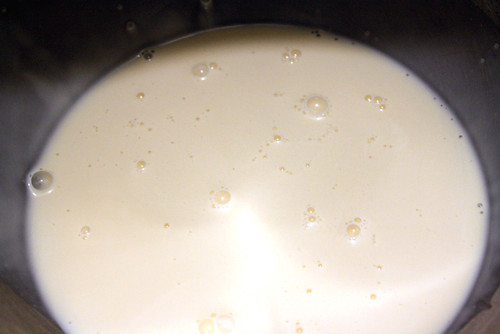

Place the raw milk cream into a blender and whip on high speed for several minutes until you notice the cream is no longer separating.
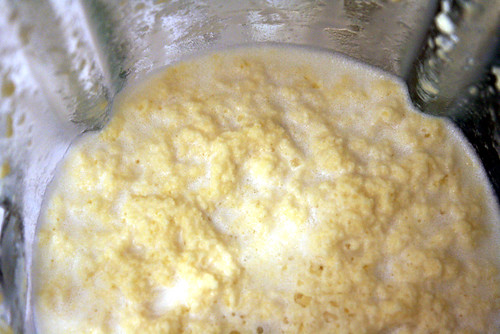

Stop the blender and pour out the buttermilk into a container for other use.

Add a few tablespoons of filtered, cold water and blend the butter for 20-30 seconds to cleanse it and make it a little firmer to work with. Pour out the water.


Using a spoon, remove the butter and place in a container to store in the refrigerator or in a butter bell on the counter for a few days.

~Yields 2-3 tbsp of butter.

Thursday, August 19, 2010

Raw Milk - How To Make Cream

Whole Raw Milk

Ahhh, raw milk. Funny how a natural substance that has existed for thousands of years without human interference can elicit such passionate emotions in modern society.

It seems chemical alternation to cow meat and milk never got along with my body. I avoided milk and beef while growing up and only recently have attempted to try both again now that I have access to organic sources. I've already tried eating beef, and that didn't go too well. I think I still have an aversion to the taste. However, raw milk and I are friends - good friends.

The difference between organic and raw milk though is a big one. Organic milk is supposed to be free of growth hormones and other terrible substances, but it's still pasteurized. This means it's killed, yes, killed of beneficial bacteria and just sits on the shelf or in the refrigerator already dead and slowly rotting. Not exactly nutritious, as this actually harms your digestive system. Your body cannot recognize the substance formerly-known-as-milk and launches an immune system response, which can lead to allergies, a sluggish colon, and even heart disease. The substances added to the dead "milk" causes these negative reactions to be more likely, and is why many people who drink milk still suffer from aliments like osteoporosis.

Raw milk was just milk until the 1920s. That's when mass producing dairy farms began to emerge, leading to a slue of sickness and deaths in the United States. Instead of thinking twice about packing so many cows into tiny spaces that are filthy, people thought pasteurization was the answer. And instead of finding methods of large, sustainable dairy farms, people accepted sick cows producing contaminated milk. Milk took the bad wrap and sadly pasteurized milk is considered normal by modern standards.

Of course, it is still of the utmost importance to find grass-fed cows that are healthy and produce quality milk collected through clean methods. Many states sadly still condemn raw milk sold in conventional stores, but it's possible to find it through co-ops, local farms, or online.

Also, raw milk is more than just whole milk. You can buy one product and make many others with it. It's very easy to make cream, buttermilk, and butter from raw milk. Homogenization of pasteurized milk prevents making these healthy dairy products possible, but they're accessible and delicious with raw milk. I find it much more economical to buy a gallon of raw milk and make my own milk products, including the few minutes and average kitchen tools it takes to change the milk into other dairy products.

For this first step, the cream can be used in place of heavy cream in recipes, or you can just keep it around to add to coffee in the morning. It's so simple and delicious. Plus, I'll show you in my next post how to make buttermilk and butter in one step.

How To Make Cream
1 gallon raw milk
gravity

Separated Raw Milk
See that cream line? You can't get that with pasteurized milk!
To make cream all you have to do is buy a gallon of raw milk, let it sit in the refrigerator overnight to separate with gravity, and then spoon the cream off the top in the morning. 

Natural Cream

That's it! 

~Yields approximately 2 cups of cream.

Wednesday, August 18, 2010

Organic Homemade Ghee

Organic Homemade Ghee

Ghee is an ancient fat, often used in Indian cooking, and one of the healthier fats to use in the kitchen.

Ghee is a clarified and nearly pure butter. Butter basically has three layers: water, fat, and milk solids. The water is simmered out and the milk solids are browned and strained out, leaving a lacto-free fat. The browned milk solids provide a nutty flavor and a pleasant depth to the ghee, and removing them from the ghee allows persons who normally cannot eat lacto or dairy foods to use and enjoy ghee in a variety of dishes. Ghee is therefore great for digestion and has been used through the ages in helping with ulcers and other digestive ailments. It is even used on burns to help reduce redness and help prevent scarring.

Since ghee is high in healthy saturated fat, it is naturally shelf stable and can be kept covered on the counter ready for use in any dish for several months (if it lasts that long); however, keeping it in the refrigerator is fine, too. Although ghee cools into a solid, it melts very quickly at low temperatures but also has a high smoke point between 325-375*F, above most temperatures needed for frying or cooking foods on high heat.

Ghee is composed of approximately 65% short-chain fatty acids of saturated fat, the healthy kind, as opposed to damaging long-chain fatty acids. It also has monounsaturated and polyunsaturated fats, as well as antioxidants from the clarification process. Plus it has four fat soluble vitamins - A, D, E, & K - meaning the body cannot absorb and utilize these essential nutrients without healthy fats.

I have not used ghee recently, although I've enjoyed it in dishes before. However, I saw the process on A Little Bit of Spain in Iowa and also need it for an upcoming food project. I want to share this basic step of making ghee to encourage its use in cooking as a healthy fat and one that's easy to make at home.

It is important to use organic butter when making ghee to ensure preservatives, lactic acid, and other additives are not present which greatly reduce the health benefits of ghee, as well as prevent it from being naturally lacto-free. And also be cautious of some ready made ghee which is often a vegetable substitute and overflowing with trans fats.

Organic Homemade Ghee
1 stick of butter
cheesecloth

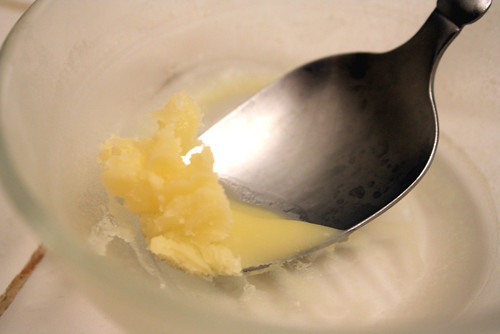
Making Ghee - Step One

In a shallow pan, melt one stick of butter over very low heat.

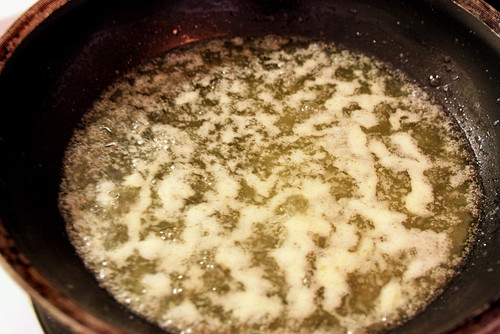
Making Ghee - Step Two

Once the butter is completely melted, turn the burner up a notch or two, but do not increase the heat over the medium setting. The butter should begin to foam, hiss, and bubble very slowly, but not boil. This process of evaporating the water should take between 10-15 min, depending on the heat of the burner; however, do not rush this step. Do not stir the butter during this entire process.

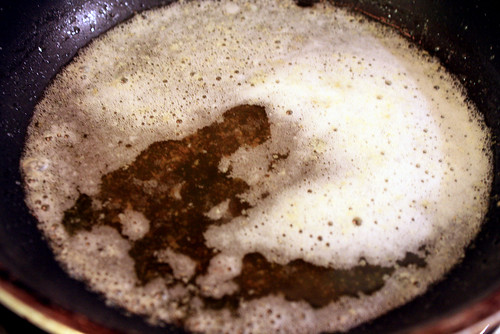
Making Ghee - Step Three

Once the water has evaporated, the butter will stop bubbling and hissing. The milk solids at the bottom of the pan will brown very quickly, so watch carefully. Using a spoon, gently push aside the foam and watch the milk solids for browning. The butter will suddenly smell very nutty when it begins to brown. Turn off the burner and remove the pan from the heat. Allow it to cool for 10 min.

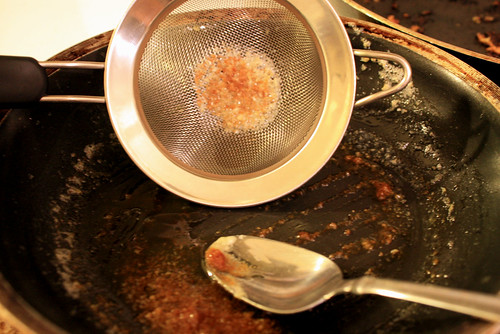
Making Ghee - Step Four
I realize this is not a cheesecloth, but I strained it twice with no real need to.
Carefully strain the ghee through a cheesecloth into a clean jar or small bowl. Store covered on the counter, refrigerator, or freezer. Also, the browned milk solids are deliciously edible and can be added to other dishes with their nutty flavor, like with scrambled eggs.

Organic Homemade Ghee

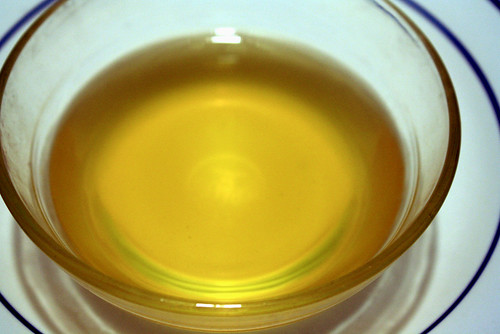
~Yields 6 tbsp ghee.