Voting for Round 8 of Project Food Blog is now open. Please visit Foodbuzz to cast your vote! Thank you for your continued support!
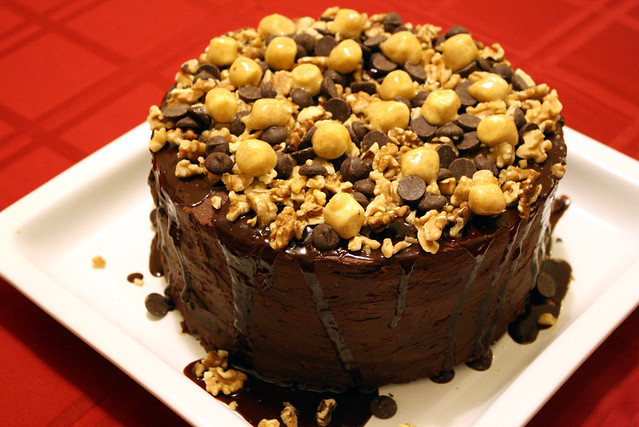
It's the holidays - time to get wild.
I think one of my favorite things about the holidays is breaking rules.
I get to graze the buffet of food at family and friends houses nearly nonstop for days without being bothered. I can stay up late visiting and enjoying time with family, then sleep in late and blame it on an overdose of all the delicious food.
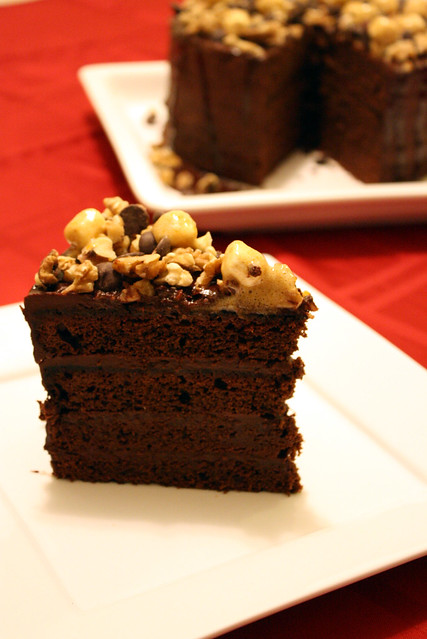
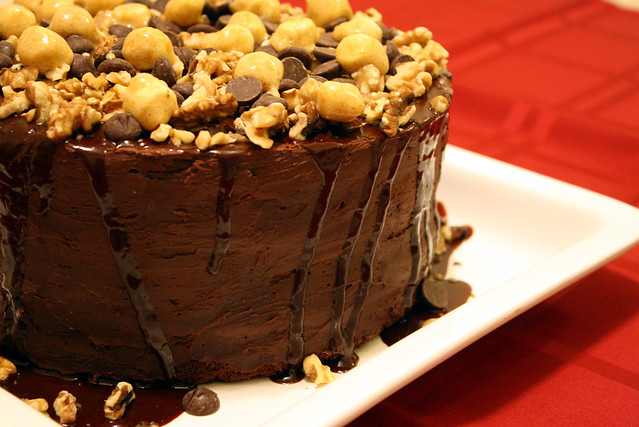
And who said pumpkin desserts have to be orange? Instead of showing up at someone's door with the same ole pumpkin pie, I show up with a cake that has its own gravitational pull. I do enjoy breaking food rules.

Also, fresh pumpkin purée is easier than the canning gods would have you believe. Just cut, scoop, and roast. My local co-op was selling organic sugar pumpkins, or pie pumpkins, for only 99 cents a pound. I was able to make 4 cups of organic pumpkin purée for $4 and roughly 10 min of physical work. And the rest of the cake was simple as well. In fact, if you put it together in steps over a few days, it will feel like you barely did any work at all. You'll be able to show up at any holiday shindig and just smile sweetly while enjoying a piece of this delicious cake listening to people gush about all your "hard" efforts.
Plus, in the spirit of the holidays, I'm going to share with you the secret to cooking with pumpkin purée, fresh or canned - drain it. Pumpkins contain a lot of water, which is rarely accounted for in recipes. To ensure the dish you're making is not watery or overcooked, drain the purée in several tea towels or a bundle of paper towels (preferably some tea towels though since they can just be washed rather than thrown away). The first time you do this step, you'll realize how important it is to your recipe's success in both the consistency and taste.

Pumpkin and chocolate are quite the edible pair. I love how the fresh pumpkin is not overwhelmed by the dark chocolate; instead it brings a complimentary sweetness to the dessert. The trifecta of spices makes it feel like a pumpkin pie might be hiding in the cake somewhere, but the chocolate siren already has you transfixed into a state of bliss with her familiar song. The familiar flavors come alive in a fresh new way in this cake with each mouth watering bite. It's complete bliss at the best time of the year. Cheers.
How To Roast A Pumpkin
Printable Recipe
Preheat the oven to 400*F.
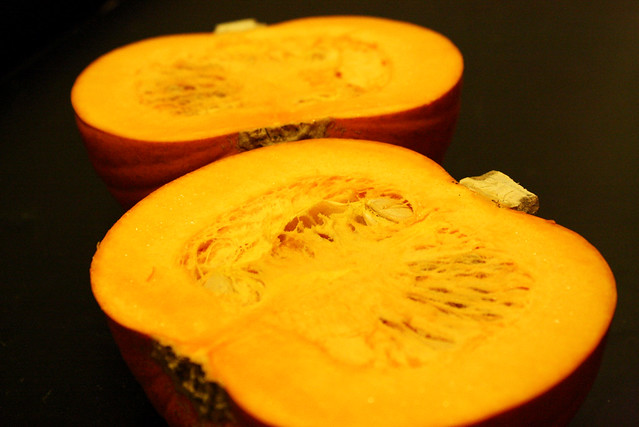
Clean the pumpkin well. Using a large knife, cut the pumpkin in half.

Use a melon baller to scoop out the seeds (save the seeds for an upcoming recipe!).

Sprinkle the pumpkin flesh with a pinch of kosher salt. Use a baking sheet with a lip and place the pumpkins face down on parchment paper. Rub the skin with olive oil to help the flesh pull away more cleanly once baked. Roast in the oven for 45 min.
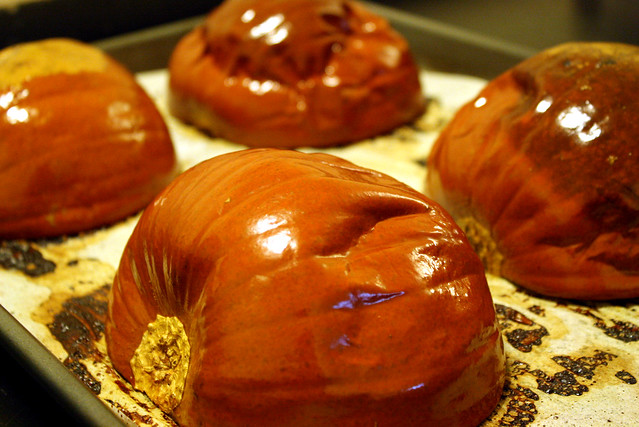
Allow to cool for 1 hour.
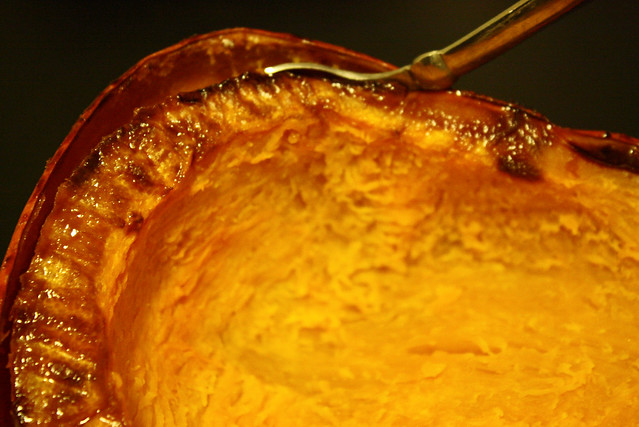
Then scoop out the roasted pumpkin. Then use a food processor to blend the pumpkin for 3 min into a smooth purée.
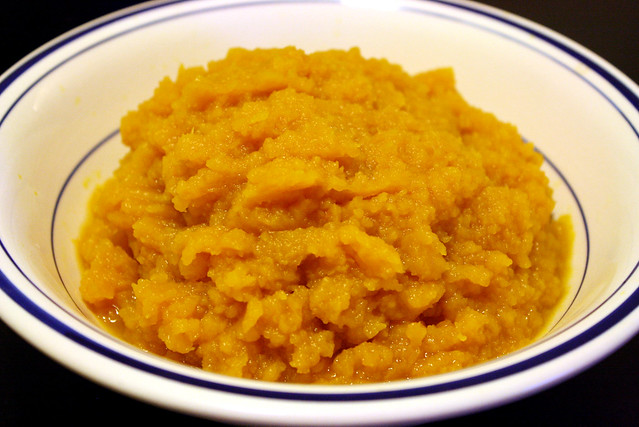
Store in tupperware temporarily in the refrigerator or freeze for up to 6 months.
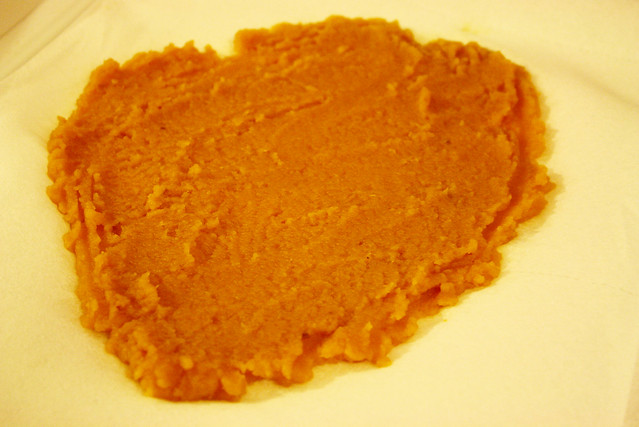
To drain the pumpkin purée for use in recipes, take the needed measurement of purée and place it between several layers of tea towels or paper towels.

Press down gently on the purée to level it into a flat disk and ensure most of the water is drained from the purée before adding to a recipe.
Pumpkin Pie Marshmallows
1/2 cup filtered water
3/4 cup turbinado
1/2 cup raw honey
1 1/2 tbsp agar agar or 1 tbsp guar gum*
3 egg whites
1/4 tsp kosher salt
1/4 cup pumpkin purée
2 1/2 tsp cinnamon
1 tsp nutmeg
1/2 tsp clove
1 tsp vanilla
1/4 - 1/2 cup powdered sugar
Butter a 9x9 glass baking pan, layer parchment paper to include the sides, then butter the parchment paper. Sprinkle several tbsp of powdered sugar over the buttered paper and smooth with your hand to ensure the pan is covered. Set aside.
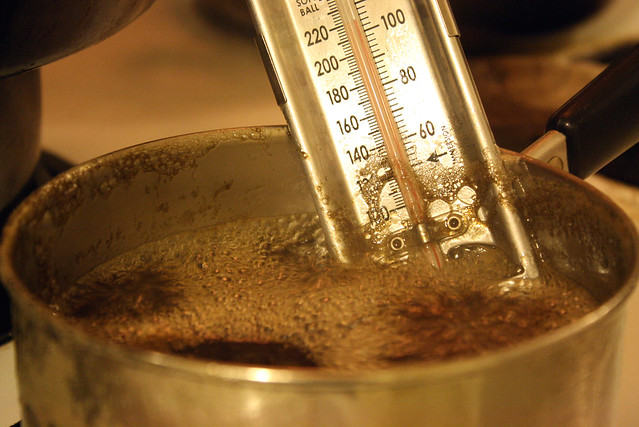
In a medium pot over medium-high heat, add the water, turbinado, and raw honey. Bring to a boil and, using a candy thermometer, allow the mixture to reach 235-240*F. Do not stir and do not cook for more than 8 min, or it will begin to burn.
Remove from the heat and add the agar agar. Allow the mixture to sit on the stove for 15 min.

Using a stand mixture, add the egg whites to the chilled mixing bowl and beat for 3 min on high speed. Next, slowly drizzle the stove mixture into the whipped egg whites in small batches, which will take approximately 5 min.
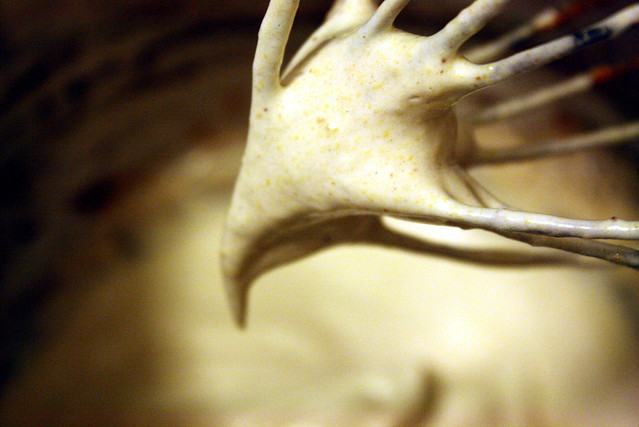
Keep the beater on high speed and add the pumpkin purée in small spoonfuls. Then add the spices and vanilla at the very end and only mix until combined.
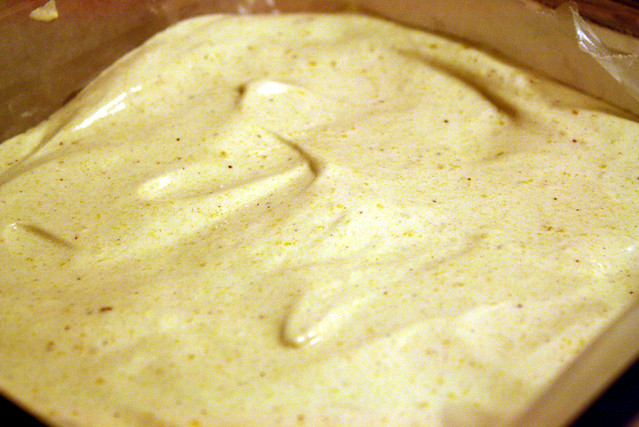
Use a spatula to smooth the marshmallow into the 9x9 pan.

Using a sieve, top with several tbsp powdered sugar. Refrigerate for at least 4 hrs, but preferably overnight.

Using a sieve, top with several tbsp powdered sugar. Refrigerate for at least 4 hrs, but preferably overnight.
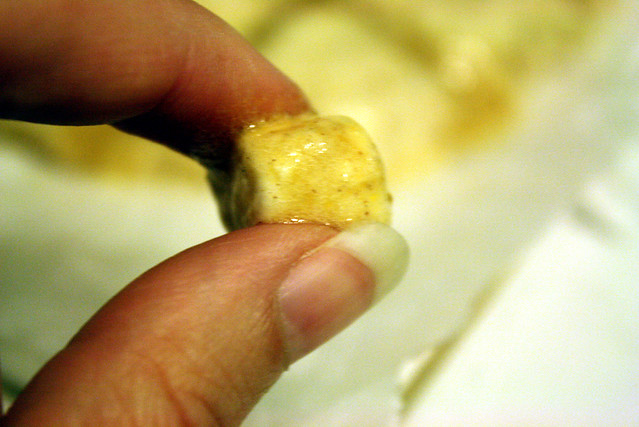
When ready, flip the marshmallow out of the pan onto a smooth surface covered with parchment paper, topped with more powdered sugar. Use a pizza cutter to cut the marshmallow into desired pieces; or use any cookie cutter - remembering to dip it into powdered sugar between each cut to prevent the marshmallows from being sticky (::ahem::). Marshmallows can be stored in an air tight container on the counter for several days.
~Yields 48 1" marshmallows.
~Original by Brie.
*Guar gum can be used to thicken the marshmallows, but will leave a distinct flavor that cannot be covered up with other ingredients.
Chocolate Pumpkin Ganache
Printable Recipe
24 oz 60% cacao chocolate chips
1 cup heavy whipping cream
3 sticks butter, cut into 1 oz pieces
1/2 cup pumpkin purée
1 tsp cinnamon

Place the chocolate chips and heavy cream in a heat-proof bowl over a small pot of simmering water on the stove. Stir occasionally until fully melted.

Remove from the heat and, in 4 oz increments, whisk in the butter until fully incorporated.

The ganache will need to sit at room temperature for at least an hour before it will cool and be thick enough to spread onto the cake. The ganache can also be temporarily stored covered in the refrigerator, but will need to come to room temperature to be spreadable.
~Yields 6 cups ganache.
~Original by Brie.
Spiced Pumpkin Chocolate Cake
Printable Recipe
3 cups all-purpose flour
1 1/3 cup cocoa
4 tsp baking powder
4 tsp cinnamon
2 tsp nutmeg
2 tsp baking soda
1 tsp cloves
1/2 tsp kosher salt
1 cup buttermilk
2 cups pumpkin purée
4 tsp vanilla
3 sticks butter
2 cups brown sugar
2 cups turbinado
6 large eggs
2 egg yolks

First, butter four 9" round pie pans. Cut out circular pieces of parchment paper and lay them on the bottom, buttering the top of the parchment paper once it's in the pan. Preheat the oven to 375*F.

In a large bowl, stir together the ingredients of flour through salt. Then sift the ingredients together well to ensure the dry ingredients are mixed thoroughly and does not contain lumps.

In a second bowl, stir together the buttermilk, pumpkin, and vanilla. Set both bowls aside.

In a large mixer, cream together the butter and both sugars for 1 min. Then add the eggs and egg yolks one at a time until fully combined. Then add the dry and wet ingredients into the mixer in thirds on low. Stop the mixer and scrap down the sides, then mix for a few seconds on medium speed to ensure the batter is fully incorporated.

Using a spatula, spoon the batter evenly into all pans and smooth down. Bake in the oven for 25 min. Allow to cool for 10 min, then transfer to a cooling rack to allow the cakes to reach room temperature.

Once completely cooled, use a long knife to smoothly level the top of each cake (you can also use this time to slice each layer in half if you would prefer thinner layers of cake or just to show off the fact you have an eight layer cake).

Use your hands to feel the top of the cake to ensure it is smooth and flat.
~Yields 4 cakes.
~Adapted from Country Living.
Putting the Cake Together
2 cups chopped walnuts
1/4 cup 60% cacao chocolate chips
1/2 cup Pumpkin Pie Marshmallows

Place one cake on the serving platter. Use three strips of parchment paper and place under the cake in a triangle pattern to prevent the ganache from touching the platter while icing.

Using an icing spatula, place 3/4 cup ganache onto the cake and spread until flat. Continue to top with another cake and ganache until all cakes have been placed.

Use most of the remaining icing to smooth the sides of the cake.

With the remaining icing, rewarm over a small pot of steaming water on the stove to melt the ganache. Pour over the top of the cake and allow to drip down the sides of the cake.

Then top with the walnuts, chocolate chips, and marshmallows.
~Yields 8 large slices.
~Original by Brie.
Chocolate Pumpkin Ganache
Printable Recipe
24 oz 60% cacao chocolate chips
1 cup heavy whipping cream
3 sticks butter, cut into 1 oz pieces
1/2 cup pumpkin purée
1 tsp cinnamon
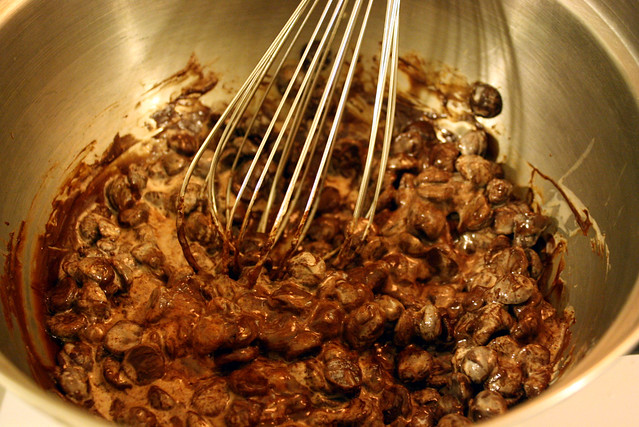
Place the chocolate chips and heavy cream in a heat-proof bowl over a small pot of simmering water on the stove. Stir occasionally until fully melted.
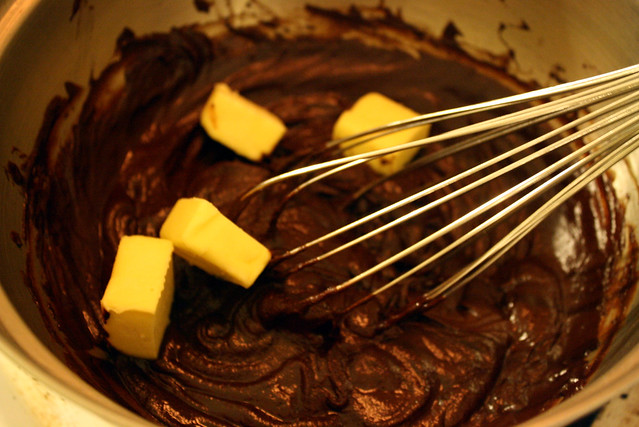
Remove from the heat and, in 4 oz increments, whisk in the butter until fully incorporated.

The ganache will need to sit at room temperature for at least an hour before it will cool and be thick enough to spread onto the cake. The ganache can also be temporarily stored covered in the refrigerator, but will need to come to room temperature to be spreadable.
~Yields 6 cups ganache.
~Original by Brie.
Spiced Pumpkin Chocolate Cake
Printable Recipe
3 cups all-purpose flour
1 1/3 cup cocoa
4 tsp baking powder
4 tsp cinnamon
2 tsp nutmeg
2 tsp baking soda
1 tsp cloves
1/2 tsp kosher salt
1 cup buttermilk
2 cups pumpkin purée
4 tsp vanilla
3 sticks butter
2 cups brown sugar
2 cups turbinado
6 large eggs
2 egg yolks

First, butter four 9" round pie pans. Cut out circular pieces of parchment paper and lay them on the bottom, buttering the top of the parchment paper once it's in the pan. Preheat the oven to 375*F.
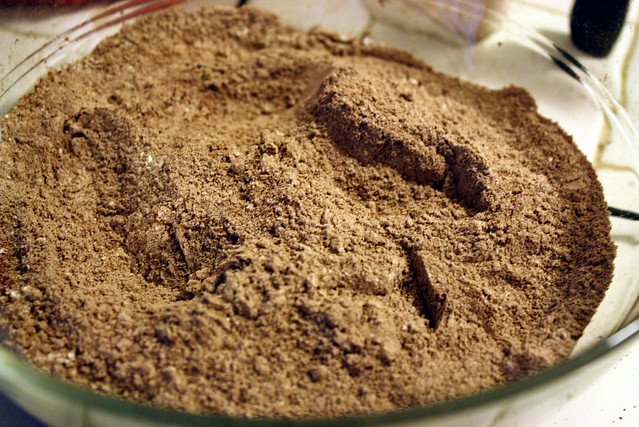
In a large bowl, stir together the ingredients of flour through salt. Then sift the ingredients together well to ensure the dry ingredients are mixed thoroughly and does not contain lumps.
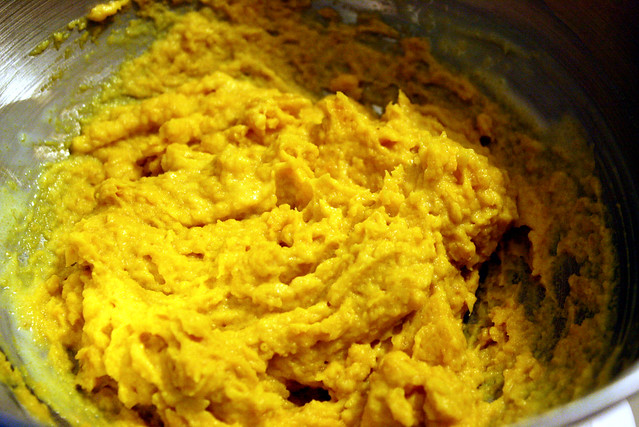
In a second bowl, stir together the buttermilk, pumpkin, and vanilla. Set both bowls aside.

In a large mixer, cream together the butter and both sugars for 1 min. Then add the eggs and egg yolks one at a time until fully combined. Then add the dry and wet ingredients into the mixer in thirds on low. Stop the mixer and scrap down the sides, then mix for a few seconds on medium speed to ensure the batter is fully incorporated.
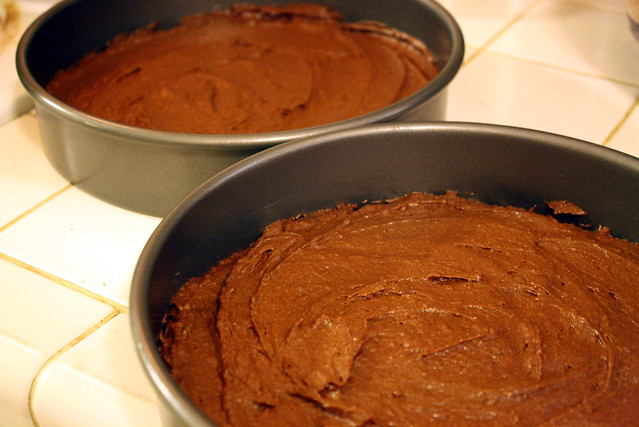
Using a spatula, spoon the batter evenly into all pans and smooth down. Bake in the oven for 25 min. Allow to cool for 10 min, then transfer to a cooling rack to allow the cakes to reach room temperature.
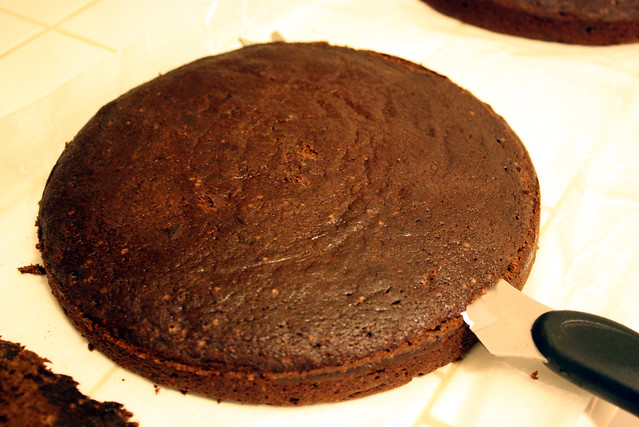
Once completely cooled, use a long knife to smoothly level the top of each cake (you can also use this time to slice each layer in half if you would prefer thinner layers of cake or just to show off the fact you have an eight layer cake).
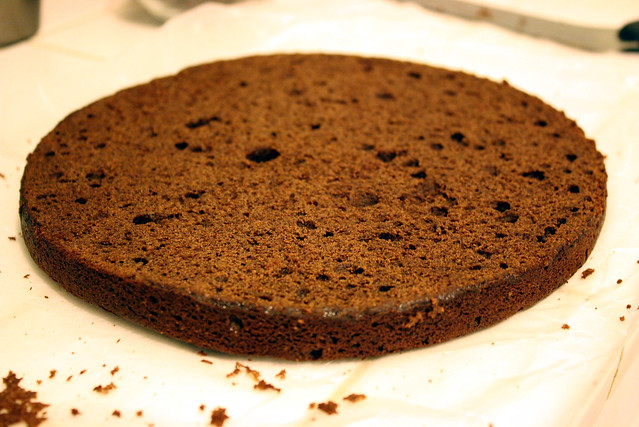
Use your hands to feel the top of the cake to ensure it is smooth and flat.
~Yields 4 cakes.
~Adapted from Country Living.
Putting the Cake Together
2 cups chopped walnuts
1/4 cup 60% cacao chocolate chips
1/2 cup Pumpkin Pie Marshmallows
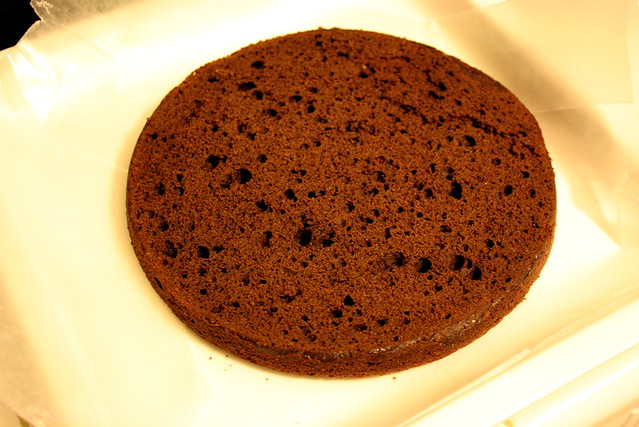
Place one cake on the serving platter. Use three strips of parchment paper and place under the cake in a triangle pattern to prevent the ganache from touching the platter while icing.
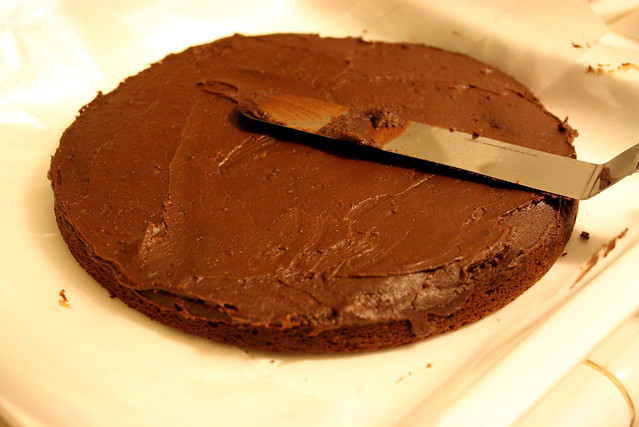
Using an icing spatula, place 3/4 cup ganache onto the cake and spread until flat. Continue to top with another cake and ganache until all cakes have been placed.

Use most of the remaining icing to smooth the sides of the cake.

With the remaining icing, rewarm over a small pot of steaming water on the stove to melt the ganache. Pour over the top of the cake and allow to drip down the sides of the cake.
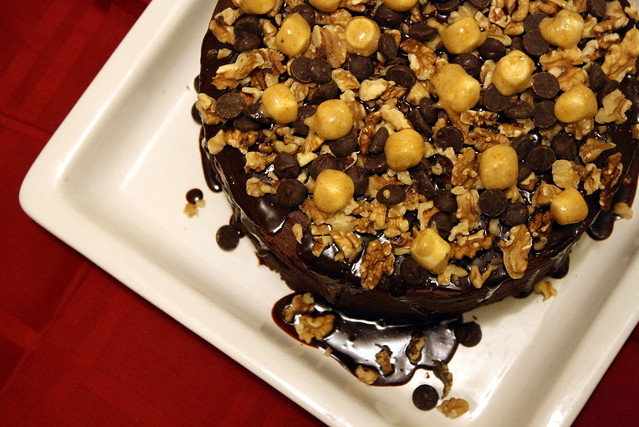
Then top with the walnuts, chocolate chips, and marshmallows.
~Yields 8 large slices.
~Original by Brie.